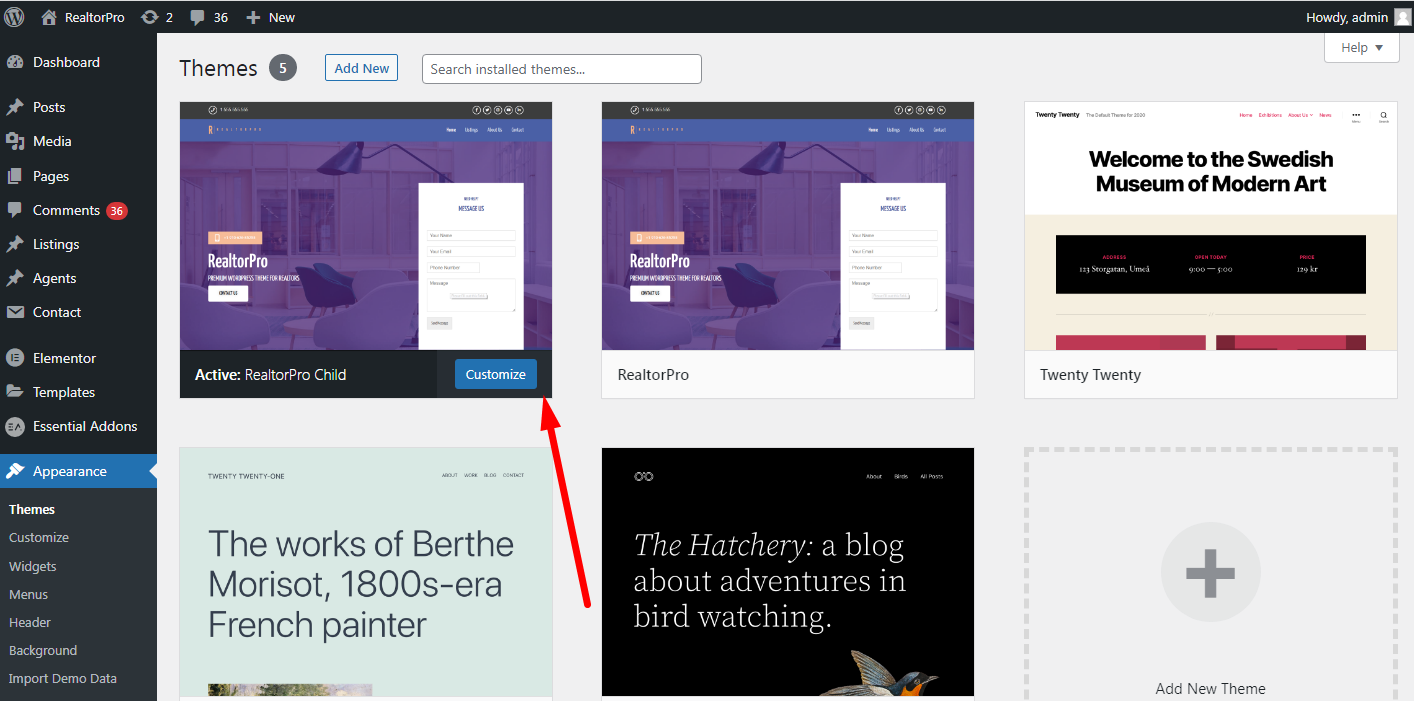
Just go to Appearance > Theme and upload the RealtorPro zip file.

Make sure to activate the theme also.
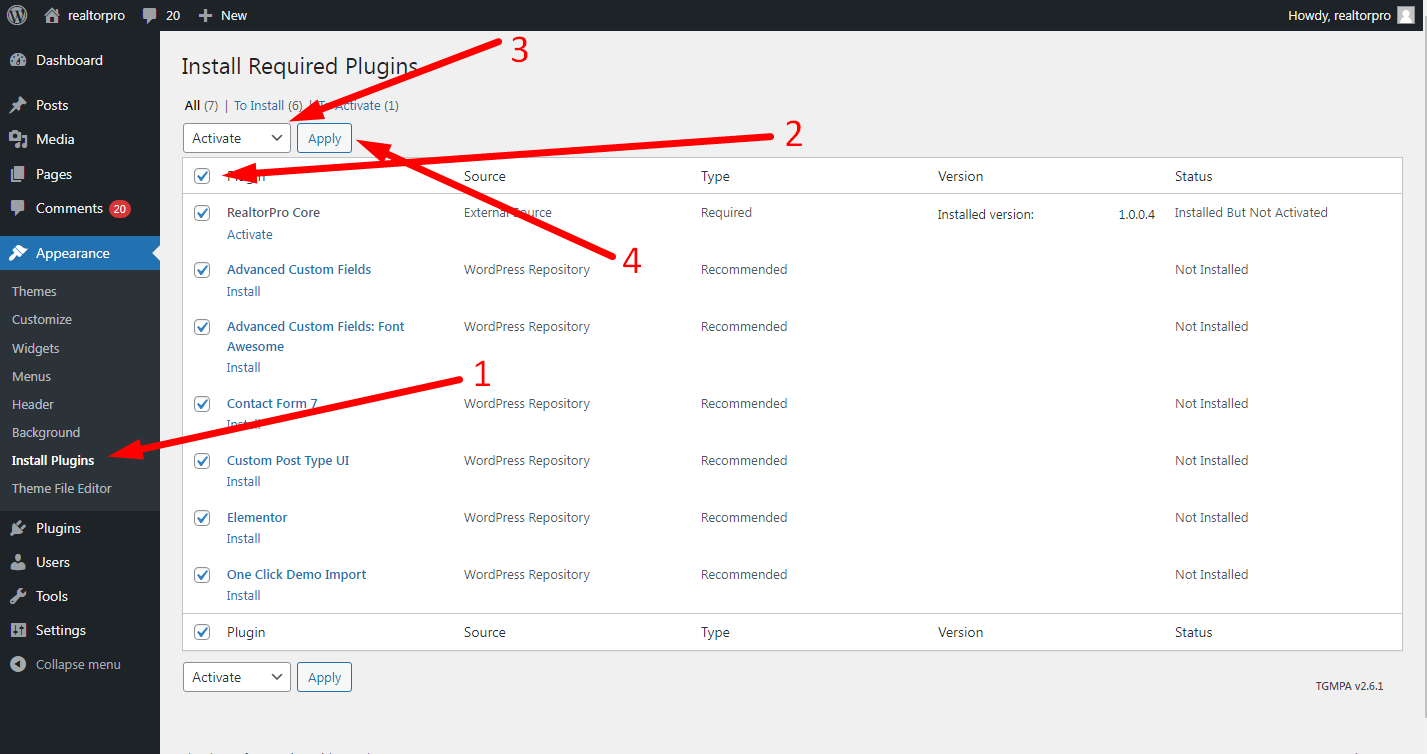
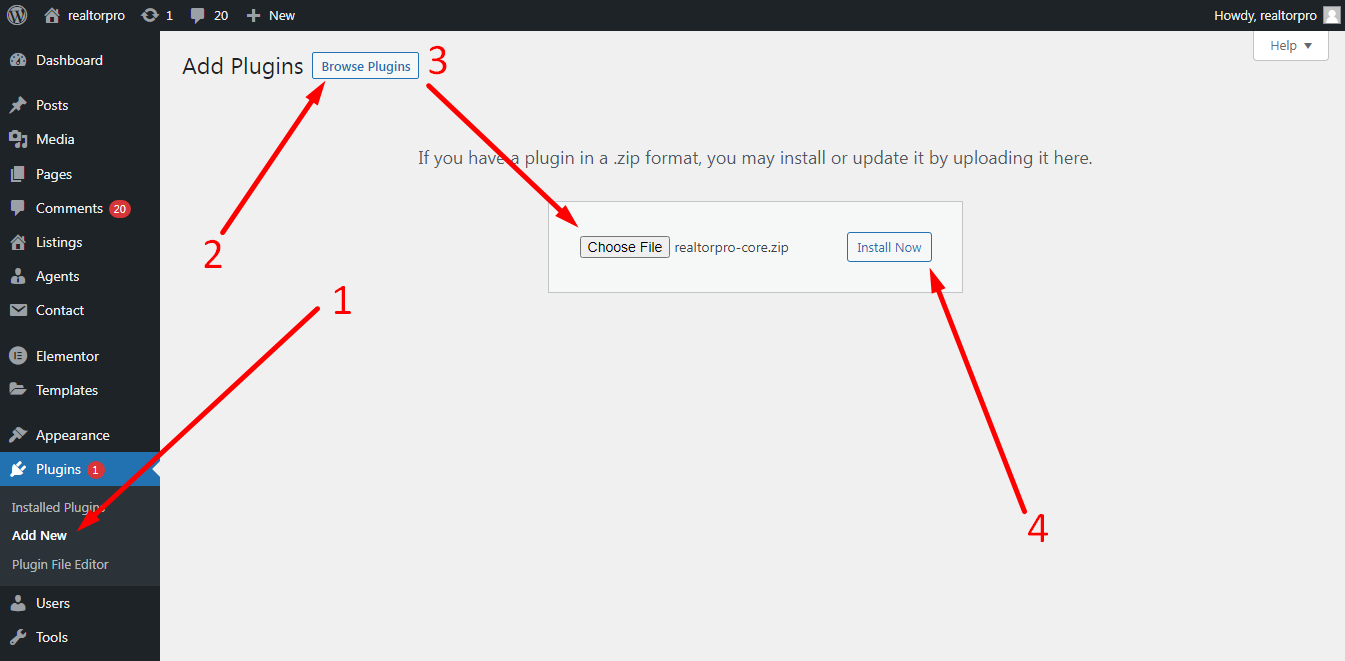
After theme activation always check if you missed any required plugins. If you do, install all required plugins. You can see the links on the dashboard menu or simply click the PLUGINS menu.
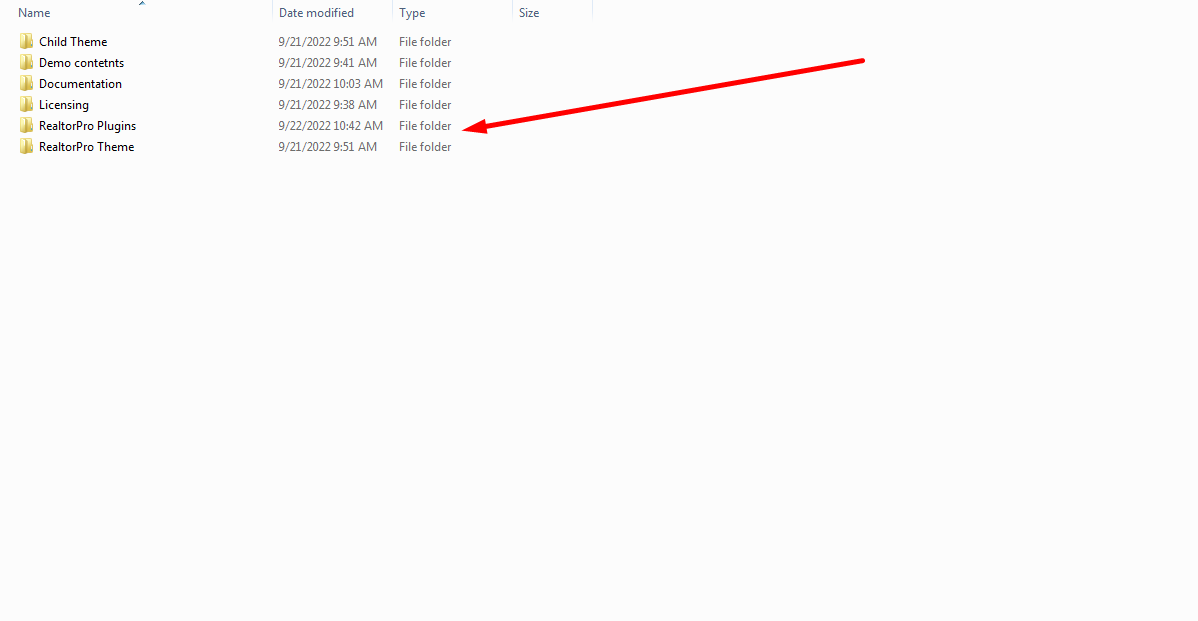
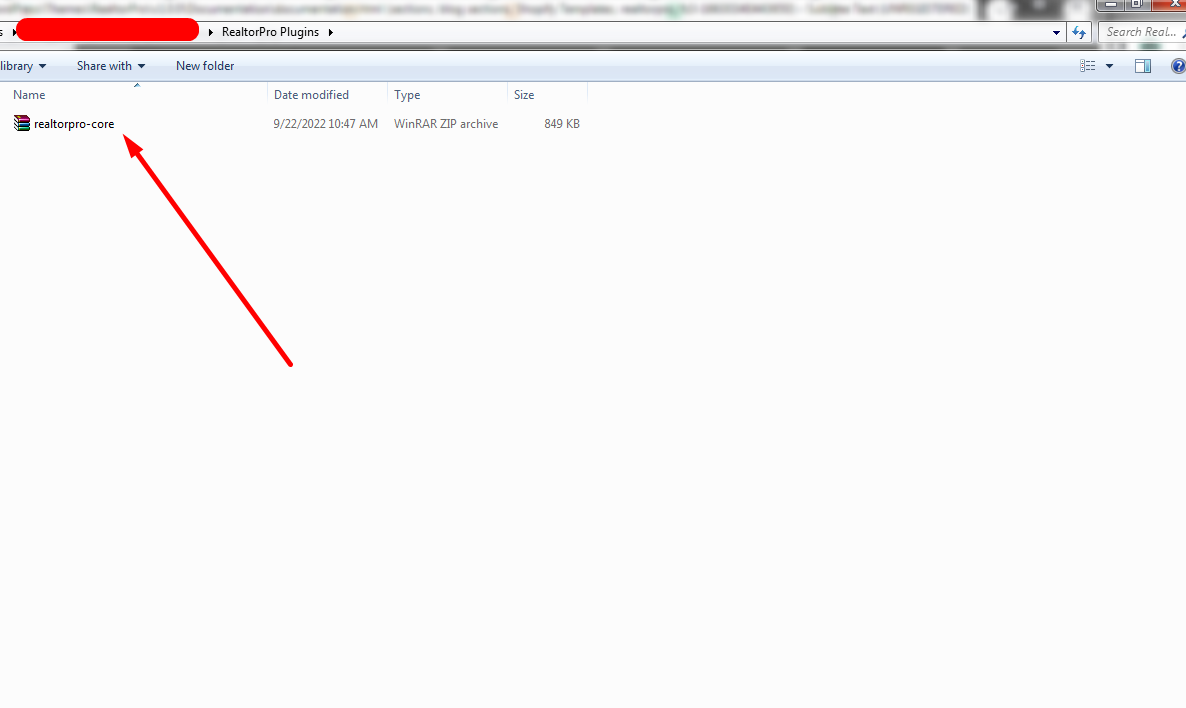
Inside the purchased theme folder you will see the RealtorPro Plugins and upload it to your plugin dashboard page.
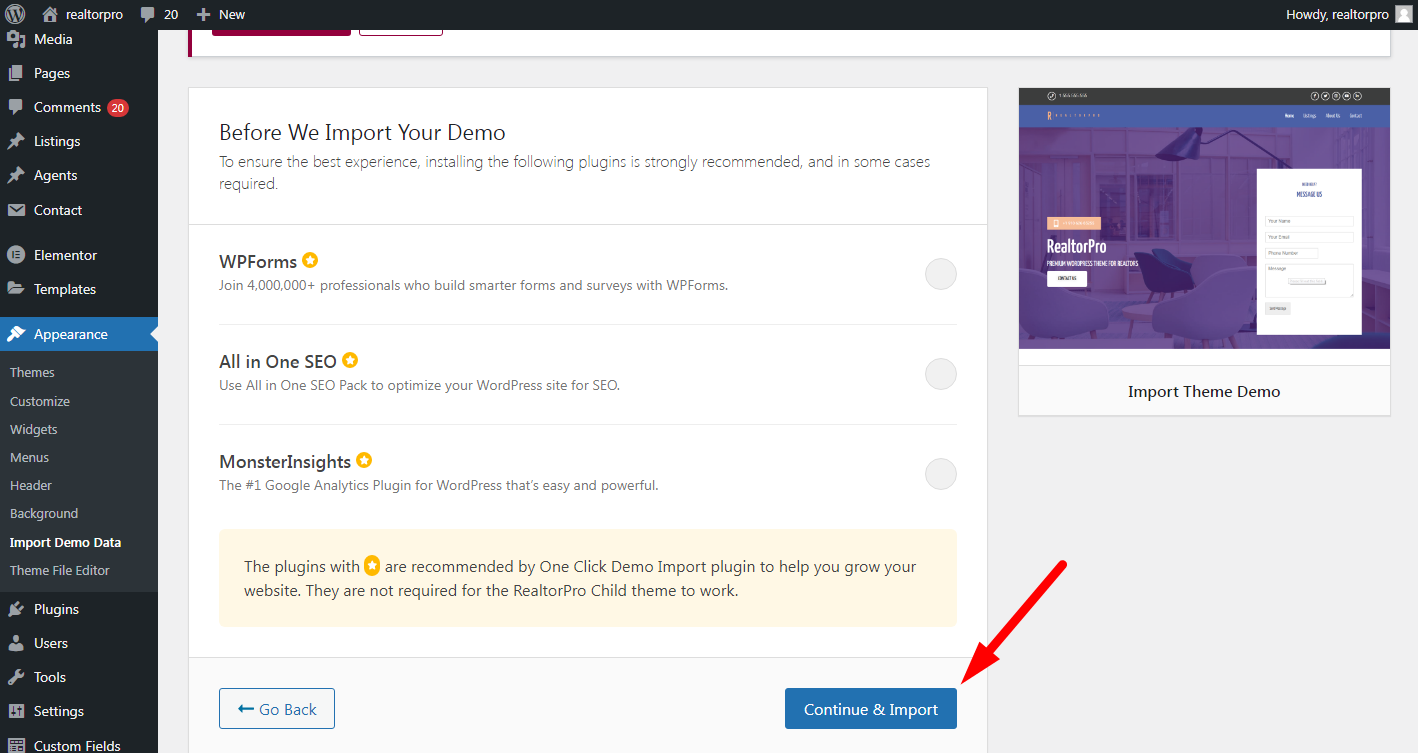
NOTE: Make sure you have installed the recommended plugins before importing the demo cause it will make some unexpected errors.
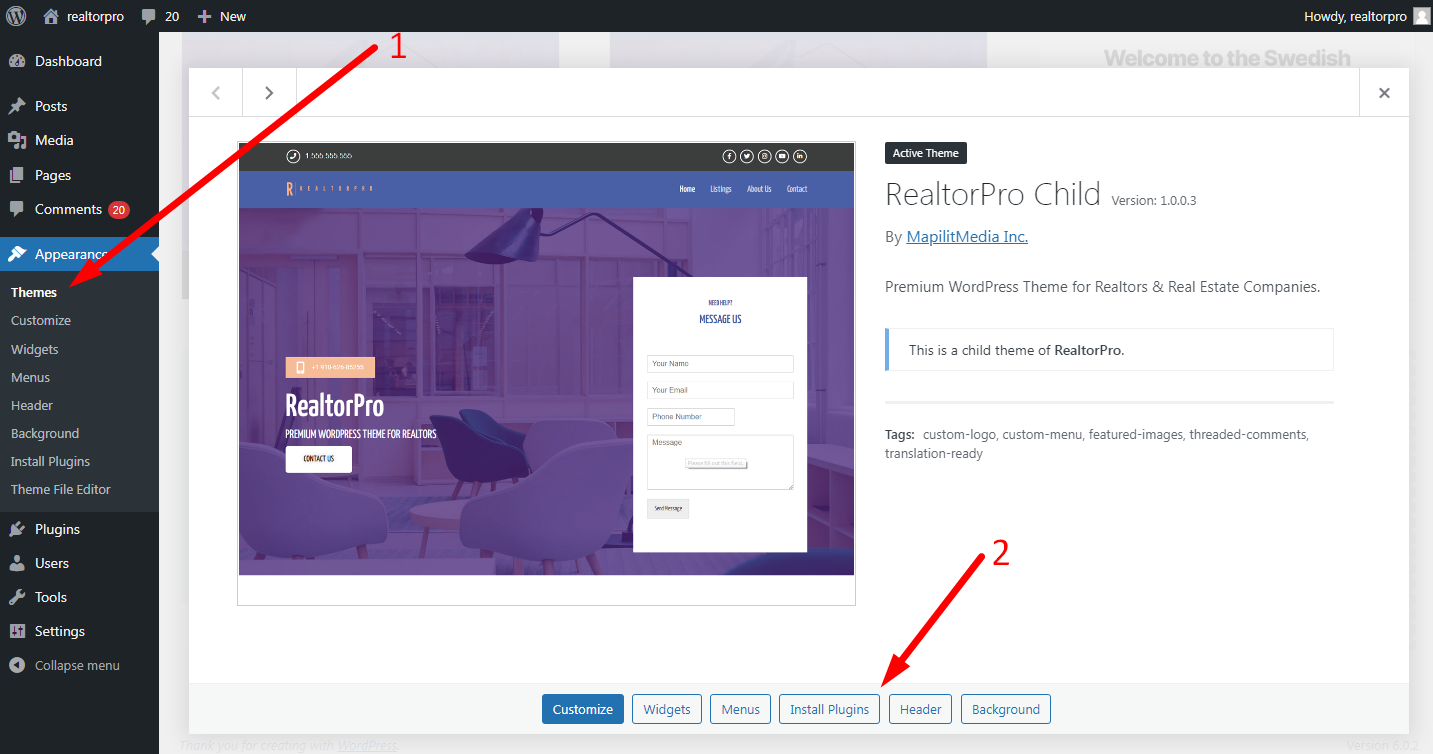
Just click the theme and you will see a popup and base on the screenshot above you can see install plugins. Or simply click the Import Demo Data on the dashboard menus.
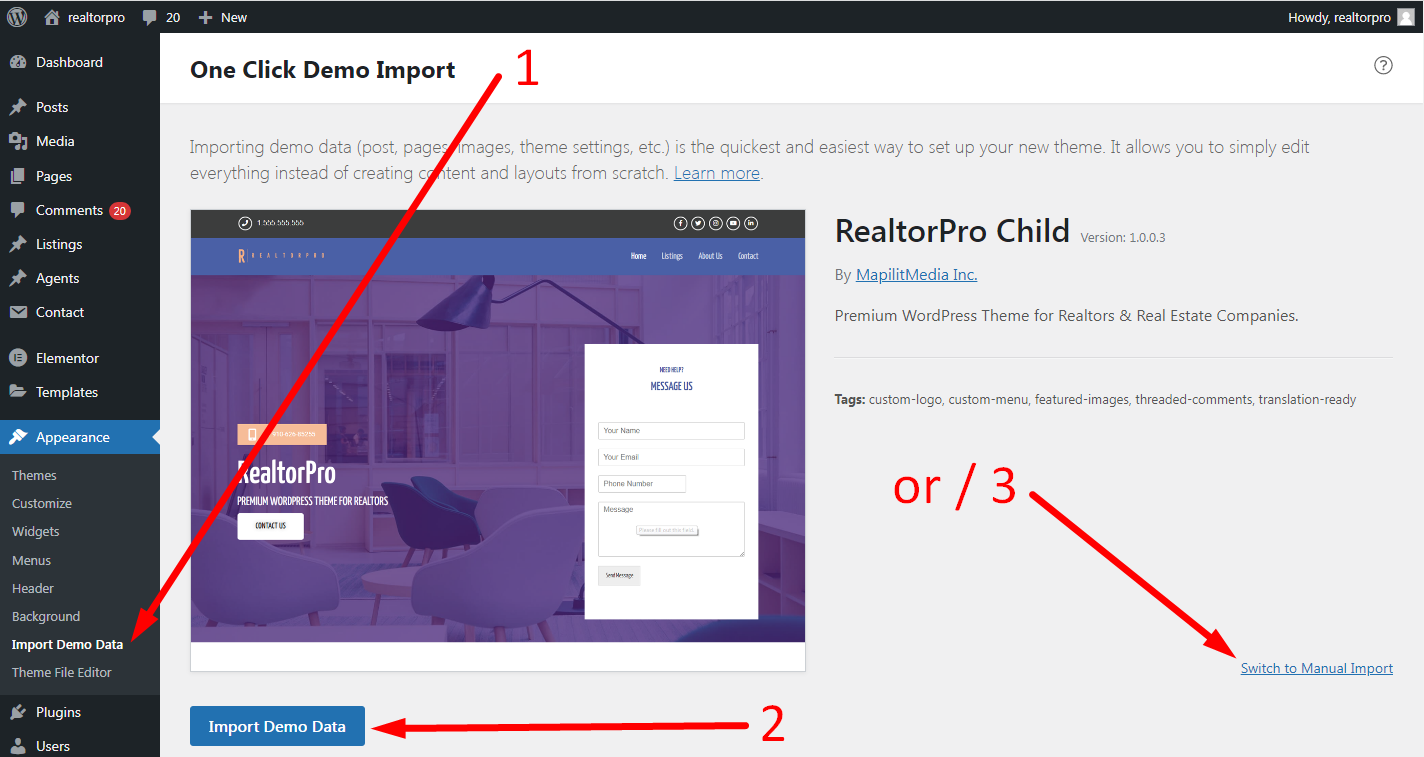
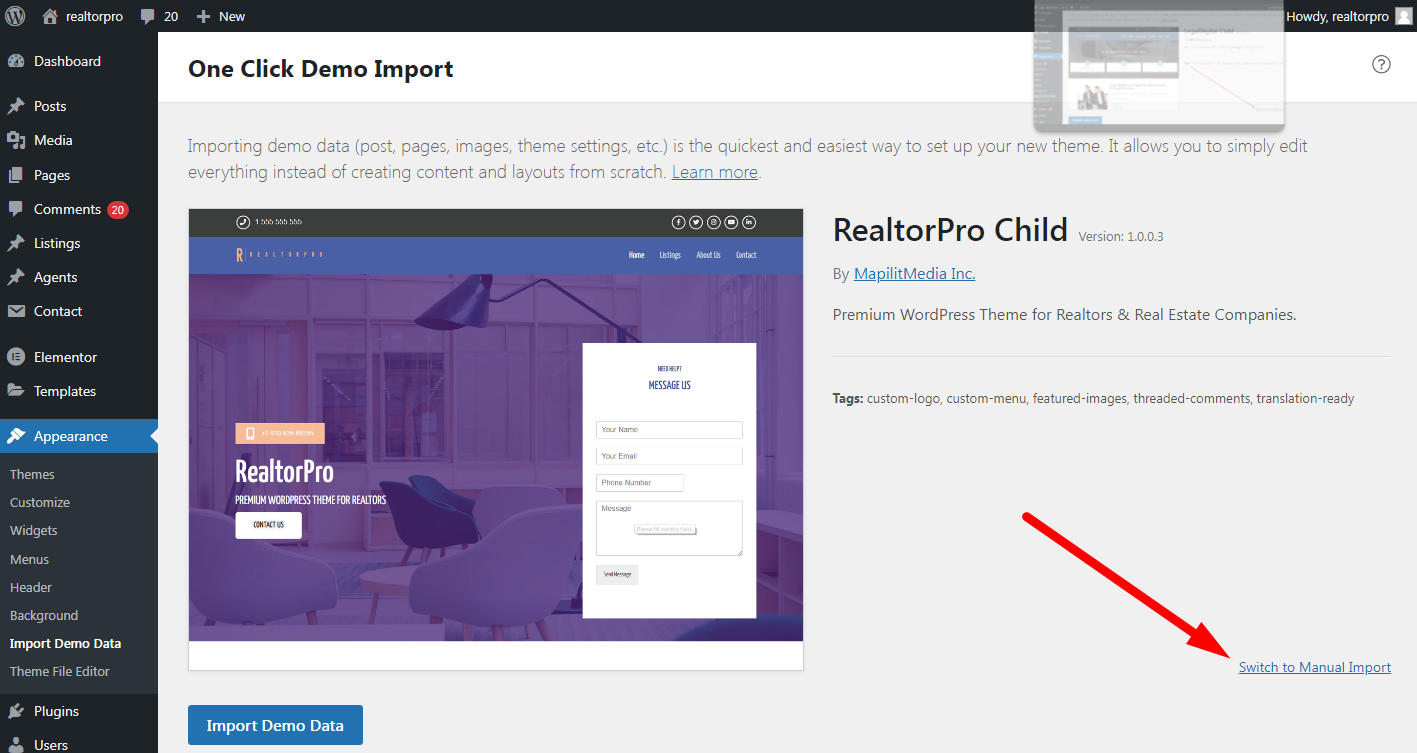
For Manual Import
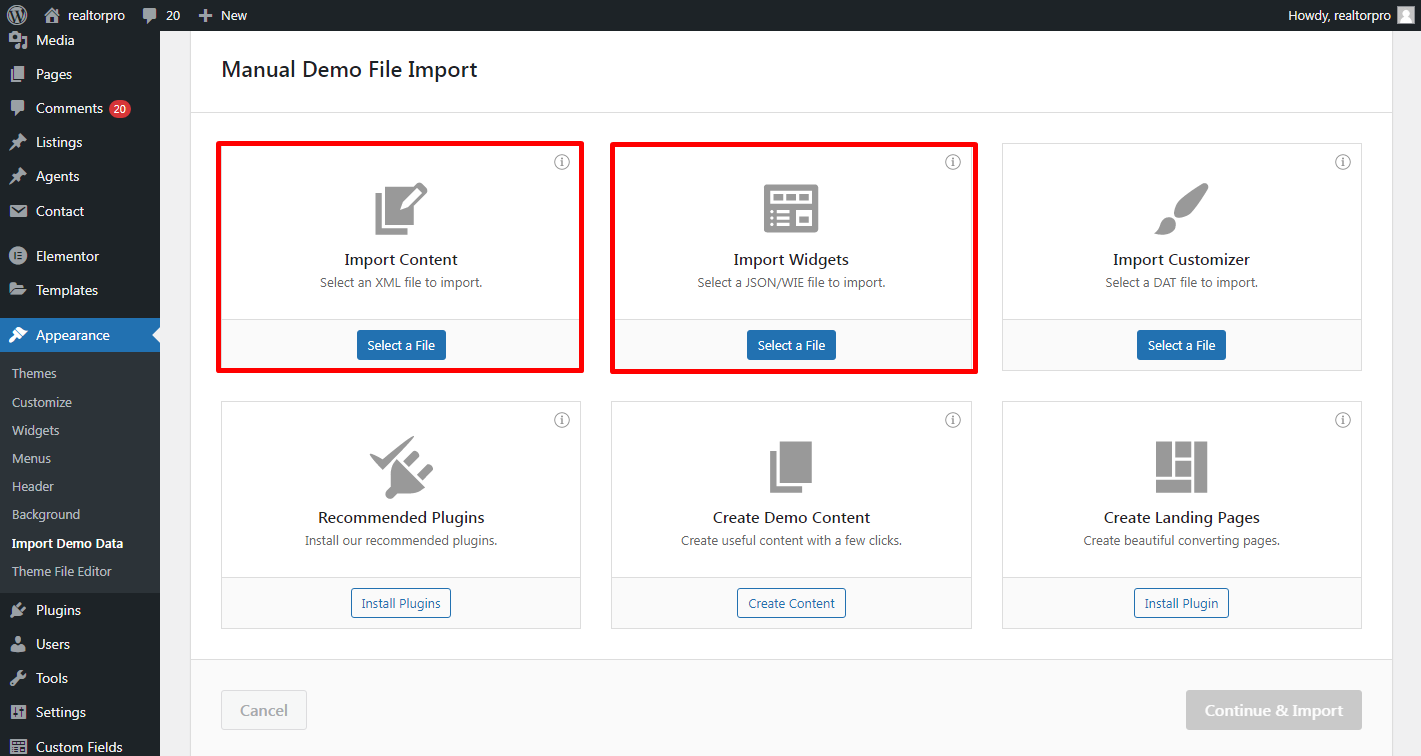
For manual import just click the Switch to Manual Import link (see screenshot below) to import the content and widgets manually.
Just find the XML file on the demo contents in your purchased item.
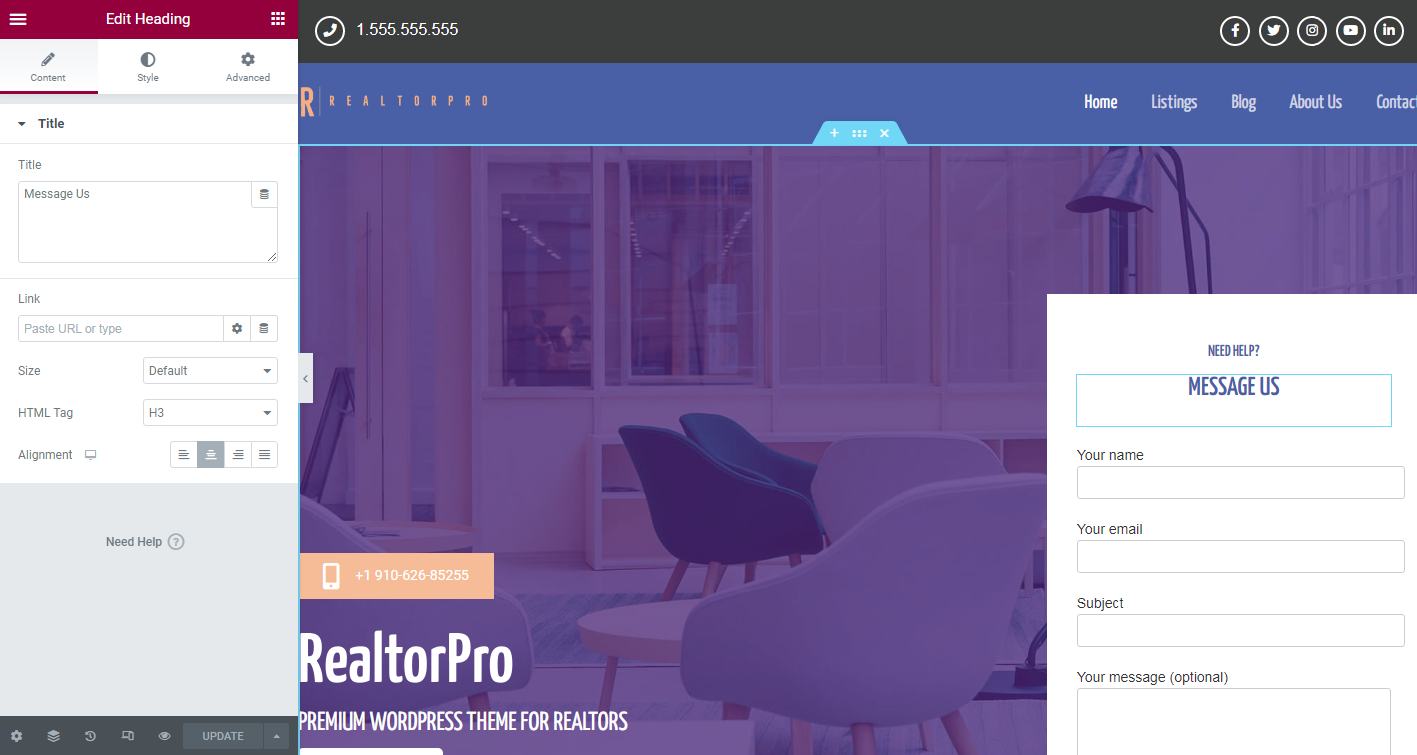
For content, all pages are managed by an Elementor WordPress plugin. You can edit it easily without doing any custom coding. Other content like on the footer and header can be found on widgets and customizer settings.
Manage colors, font size, and text or content using the customizer. Here are the section’s settings.
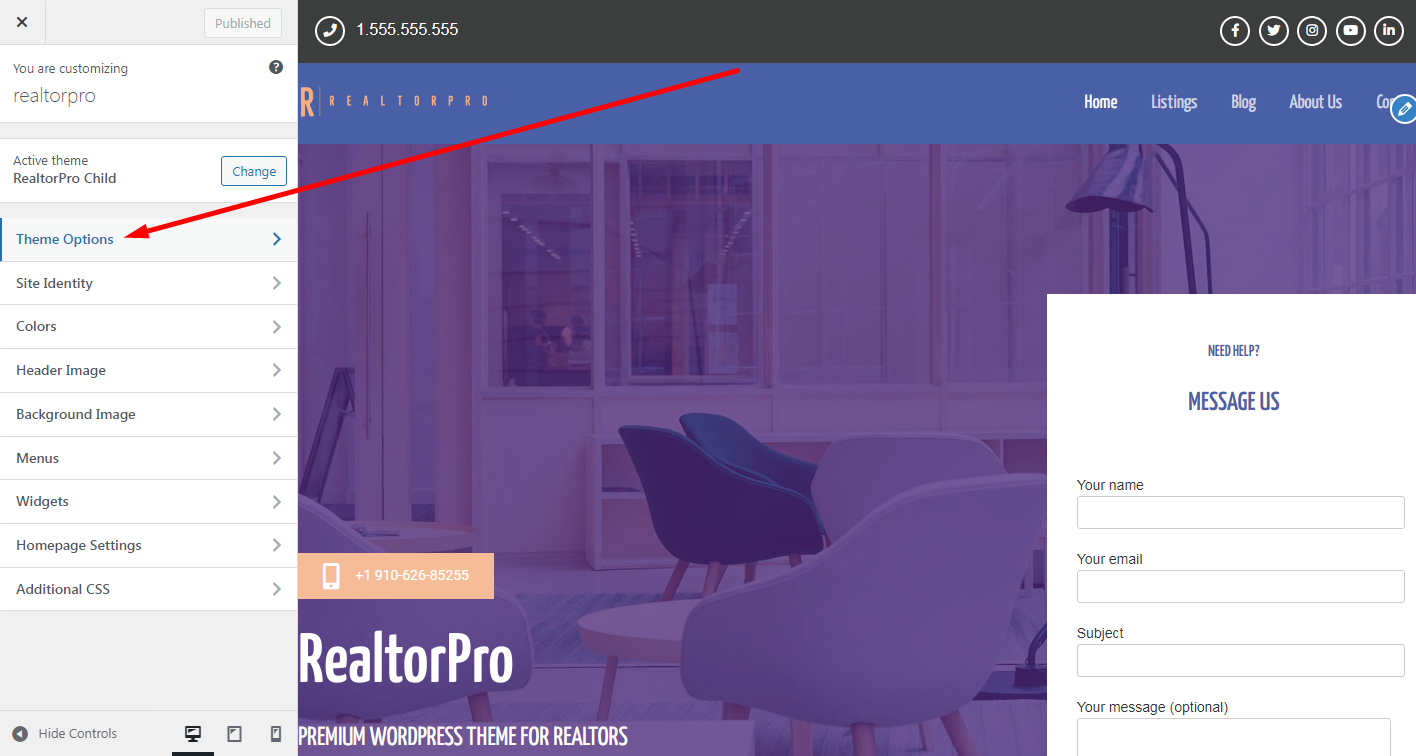
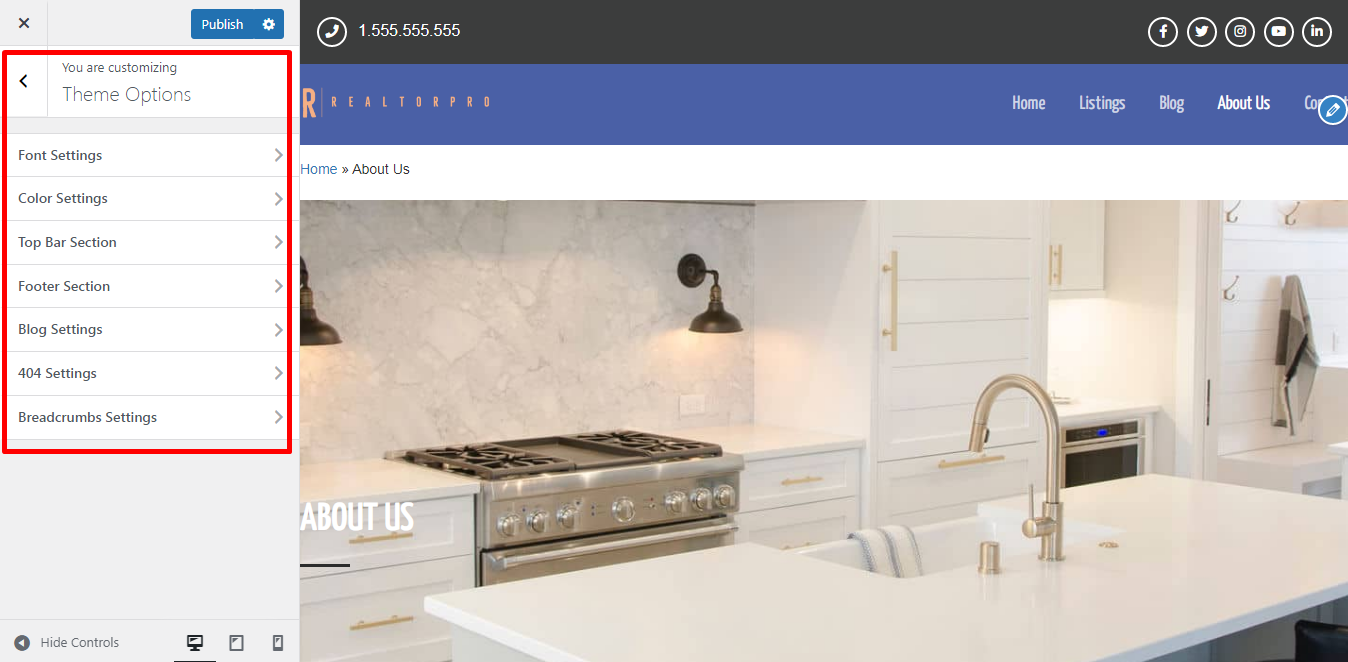
All settings can be found on the Theme Options tab.
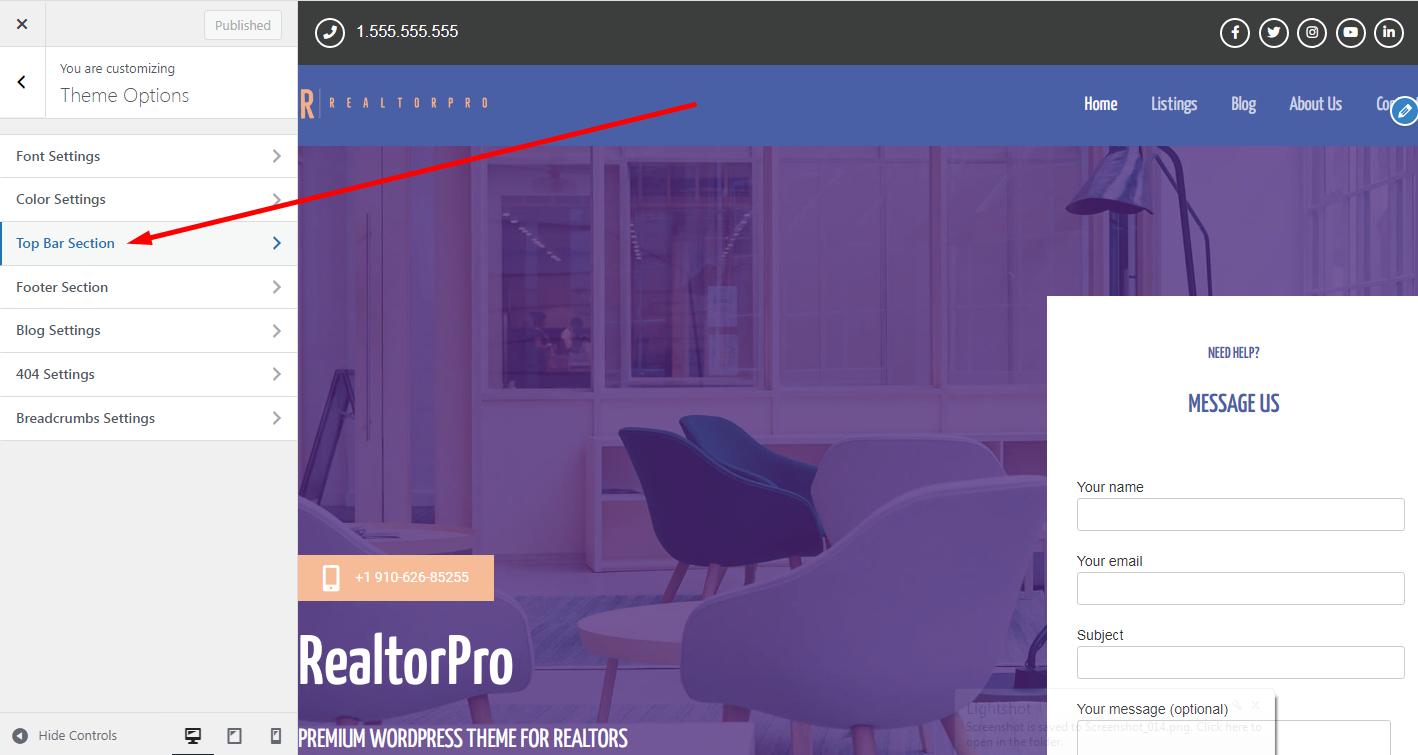
Top Bar settings where you edit the links and text that belong only to the top bar section. Please see the screenshot below.

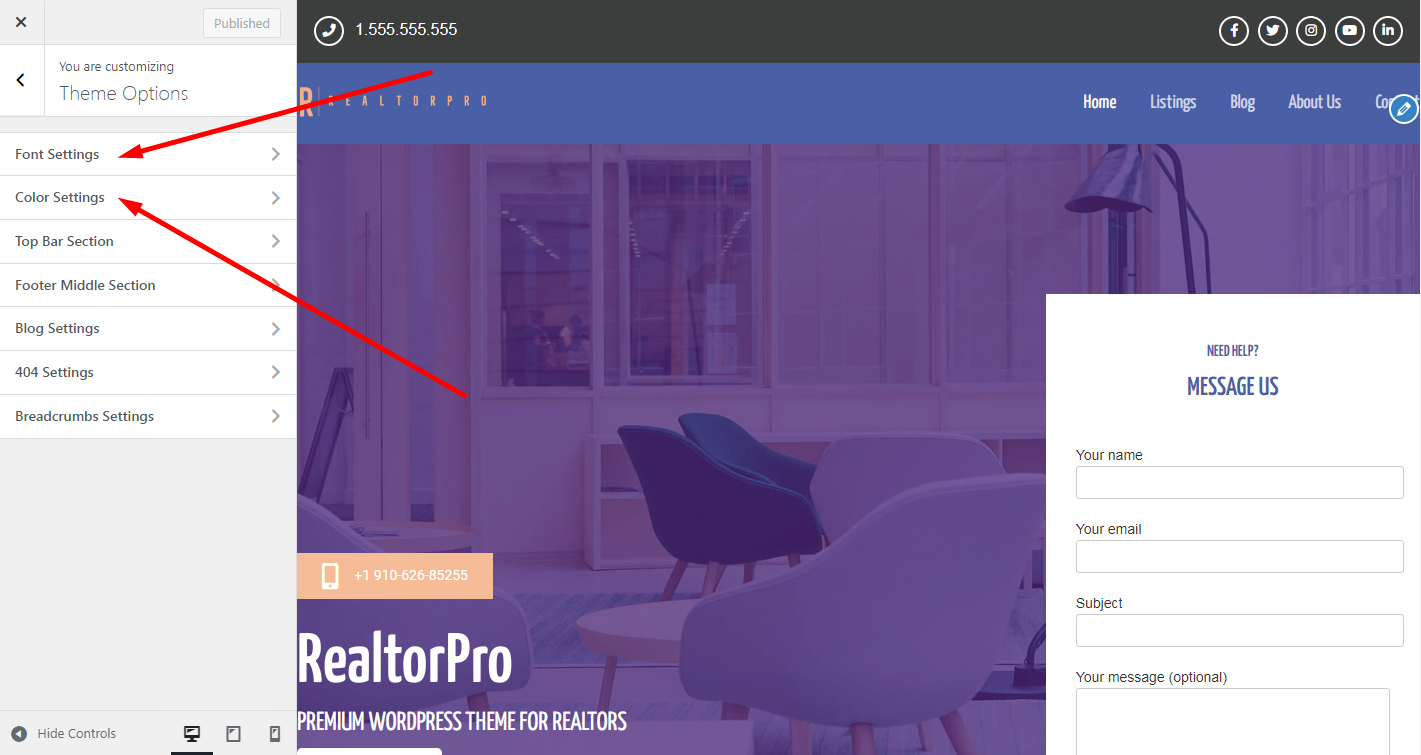
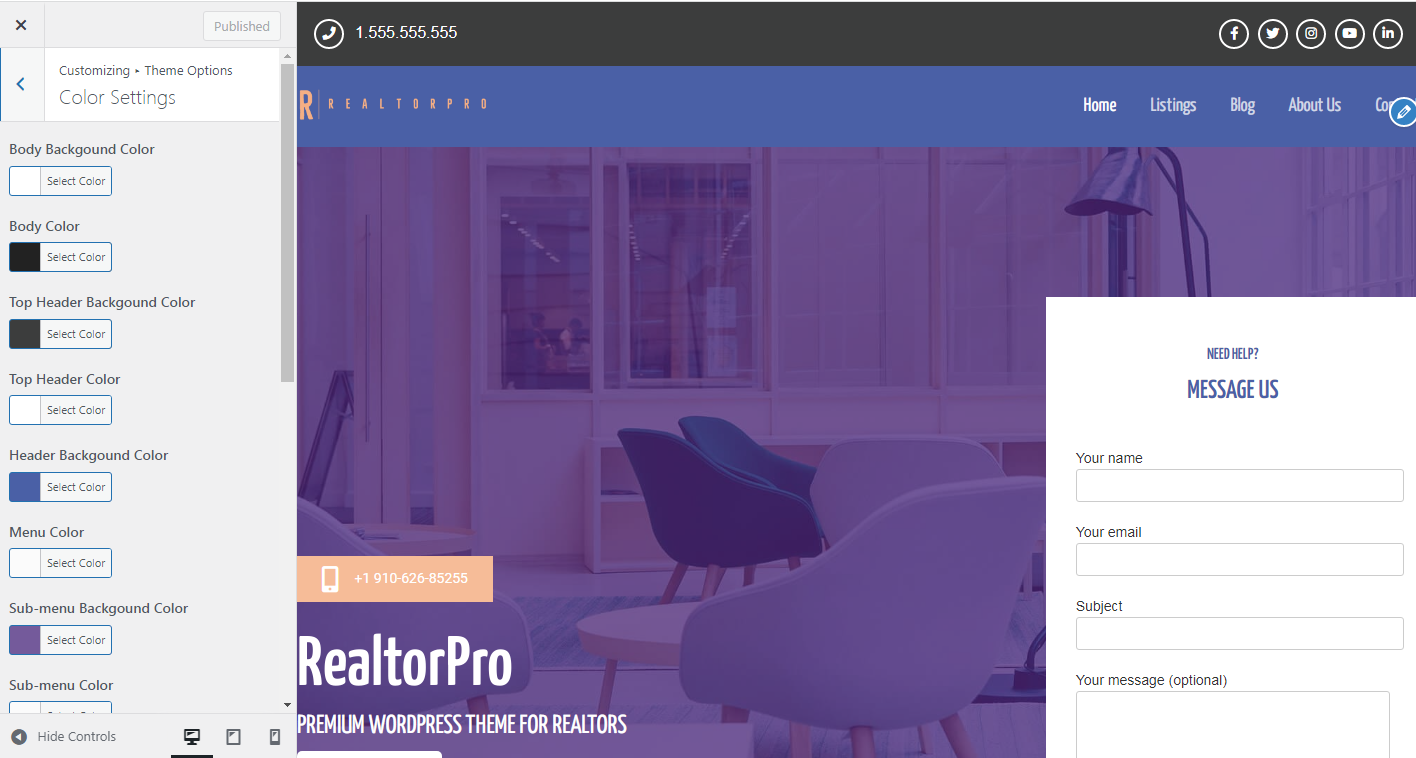
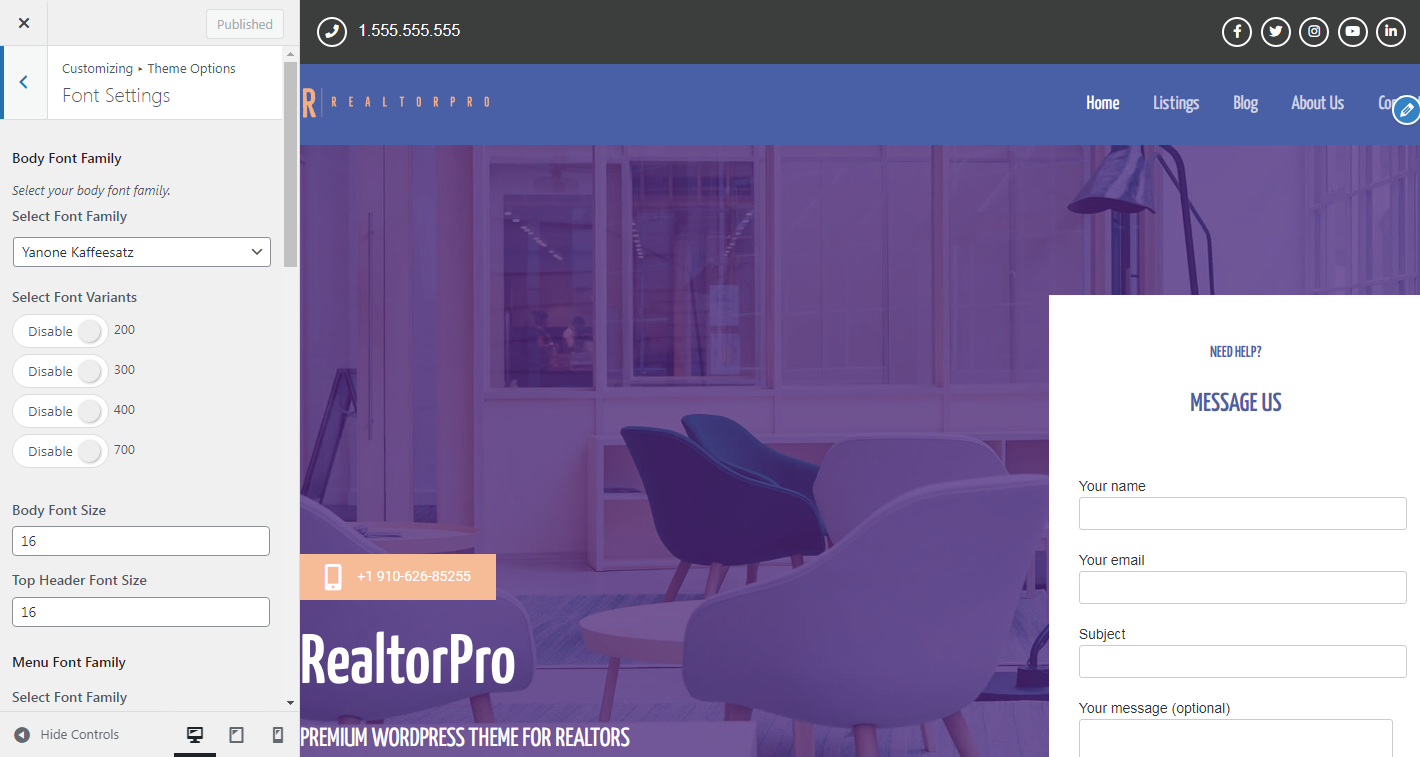
Global settings where you can edit or adjust colors, font family, and font size on these pointed tabs. Include all sections as global changes. Please see the screenshot below.
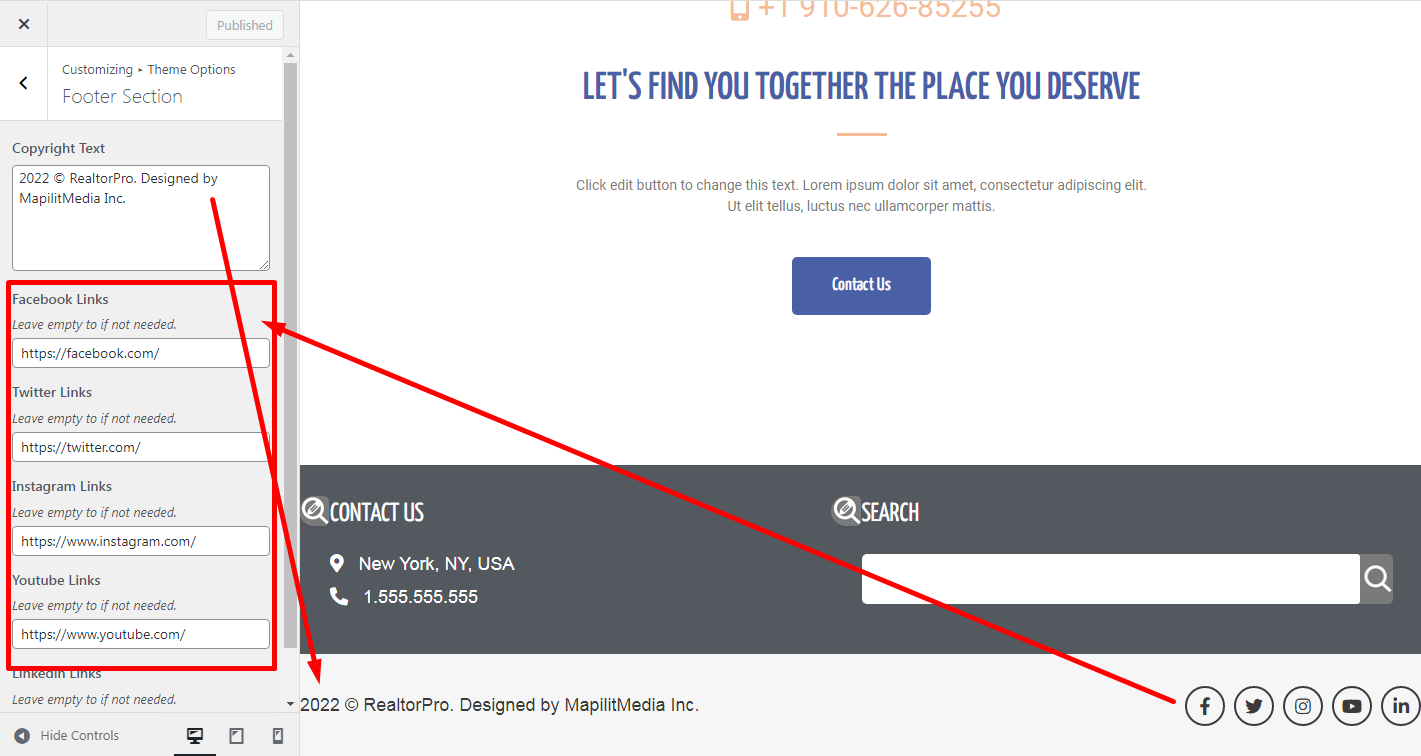
Footer Section settings is for the footer section explained in the image below. This settings where you can change/edit the text or social media links. Please see the screenshot below.
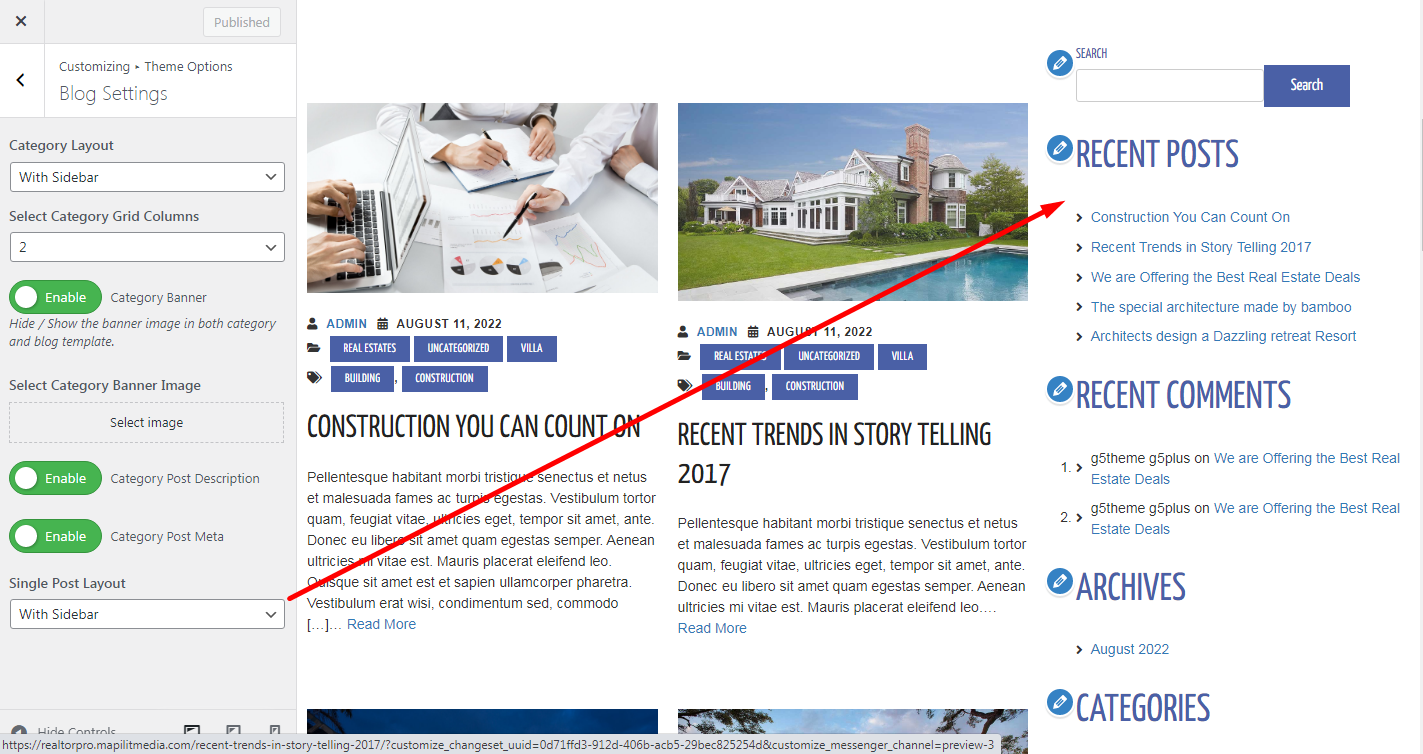
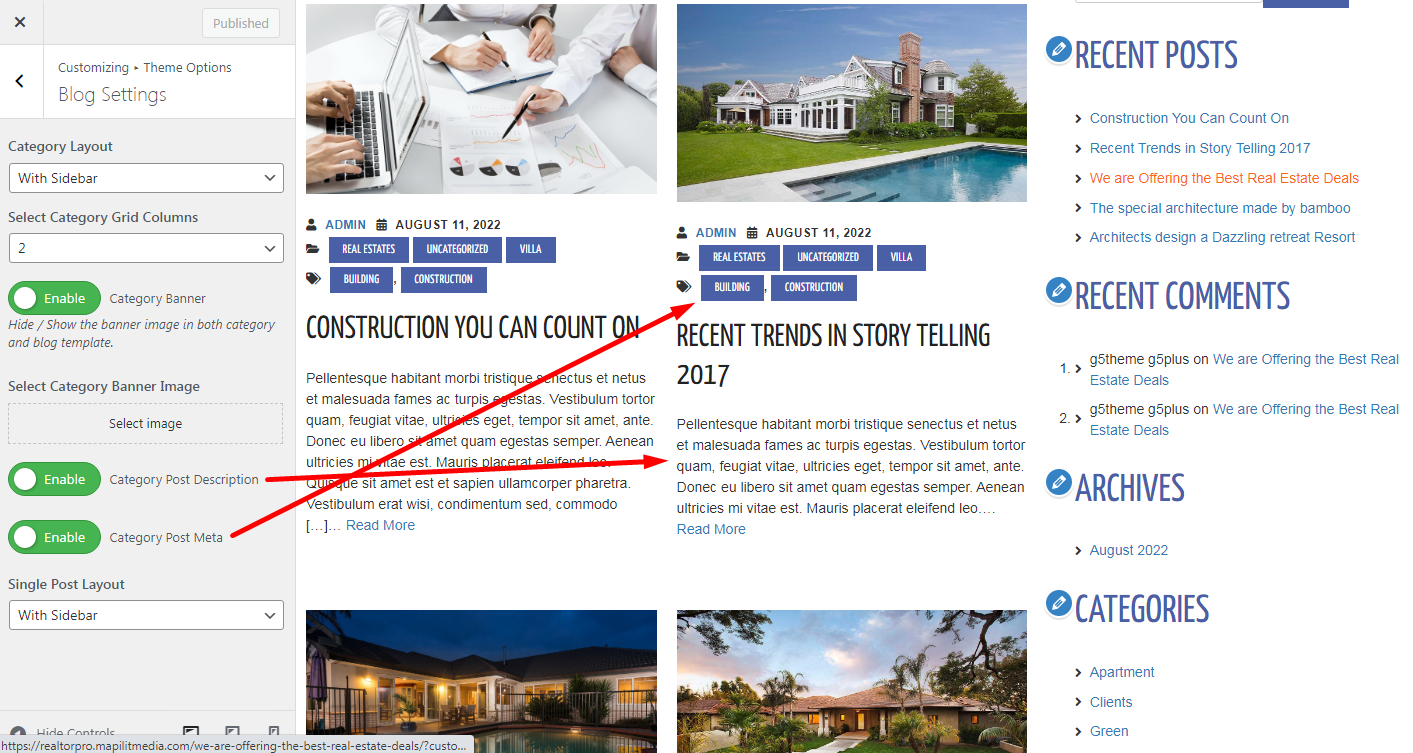
Blog Settings are for both single post and archive pages or blog page. You can control the grid column, with or without sidebars on the right hand side of the page, and other features like post meta, description, banners, etc. Those sections or elements from the blog can be found on this tab. Please see the screenshot below.

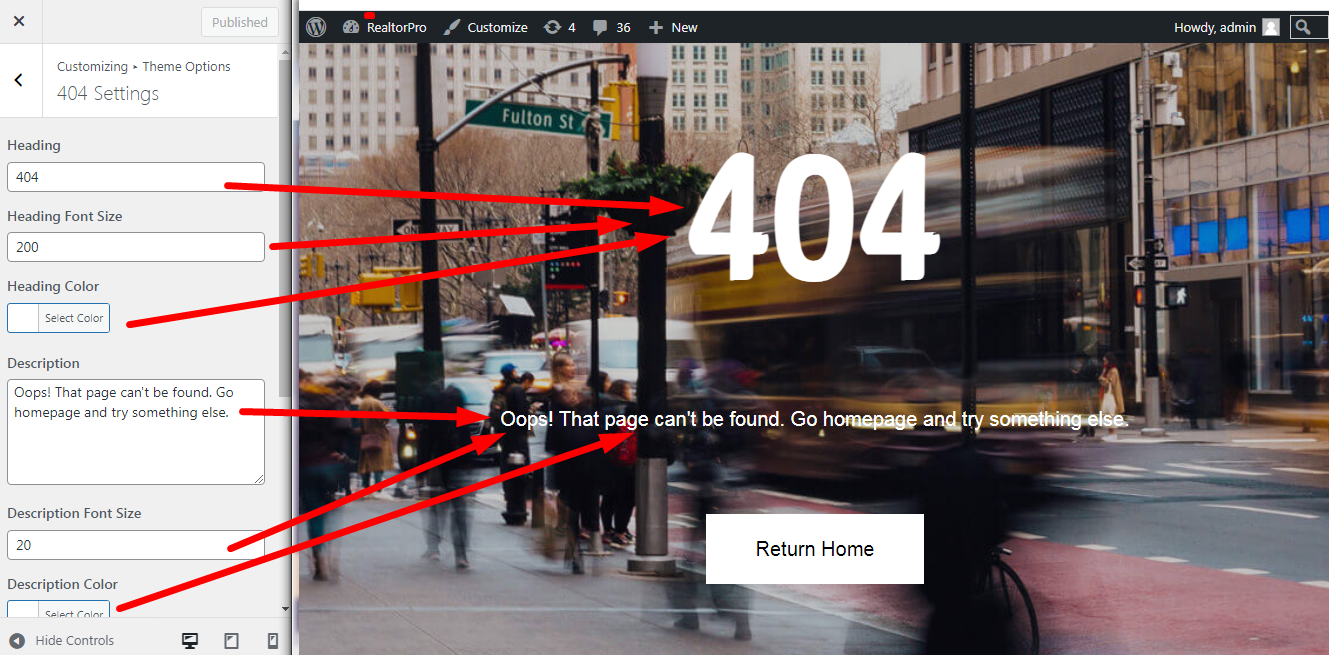
404 Setting this feature on the 404 page. All text and content can be managed on this tab. Please see the screenshot below.

Breadcrumbs Settings is only 1 option if the user wants to enable or disable the breadcrumbs. Please see the screenshot below.
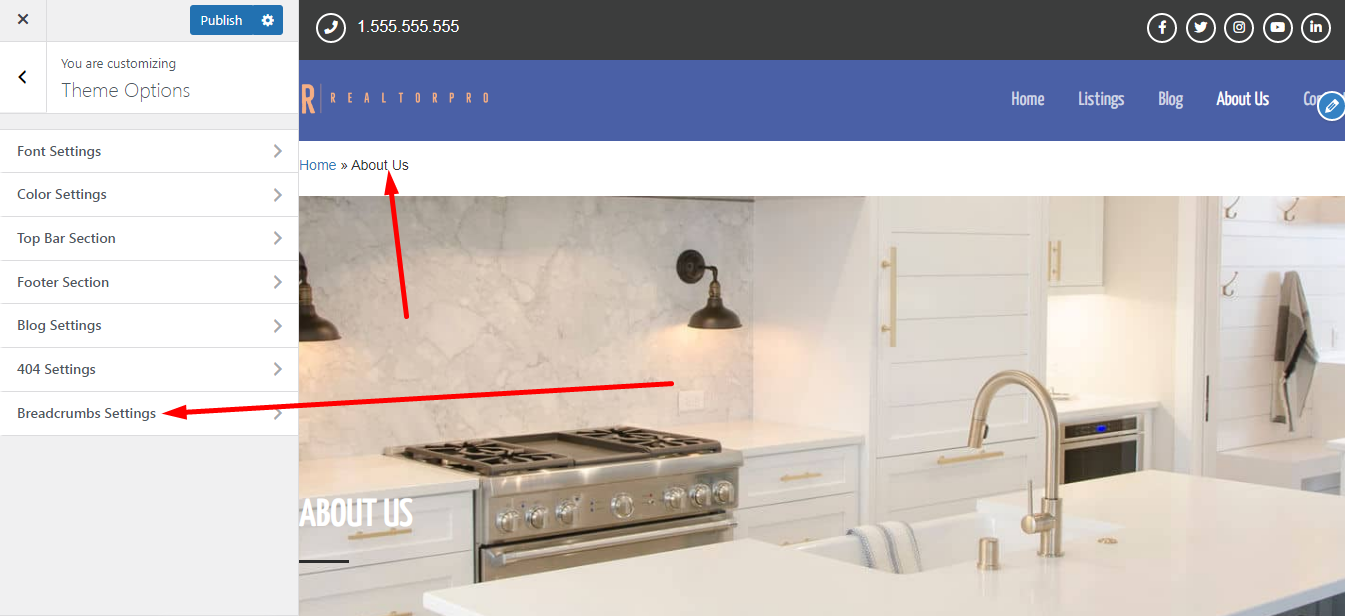
Header and footer content settings and content editing is manage by font, color, tob bar and footer theme options tab. Just go to Customizing ▸ Theme Options and you will see each tab there. Please see the screenshot below.

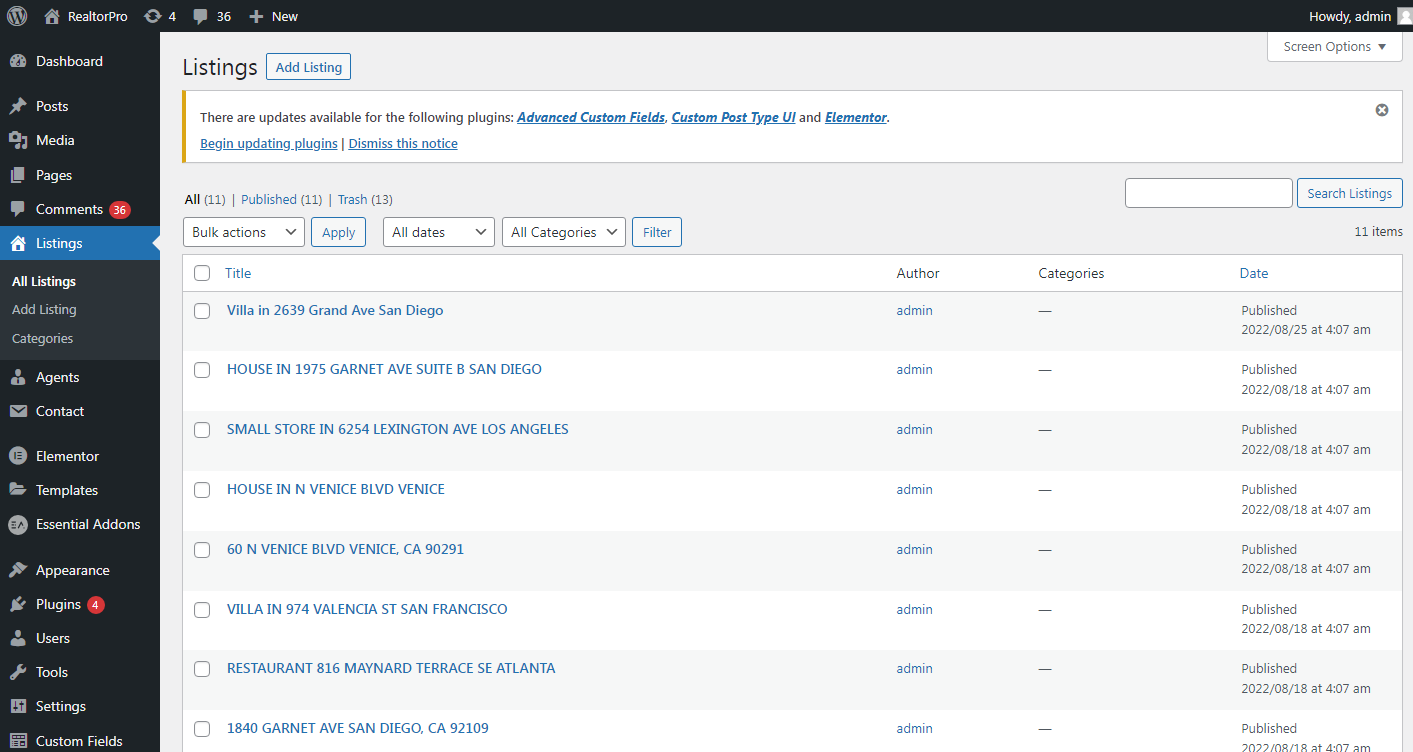
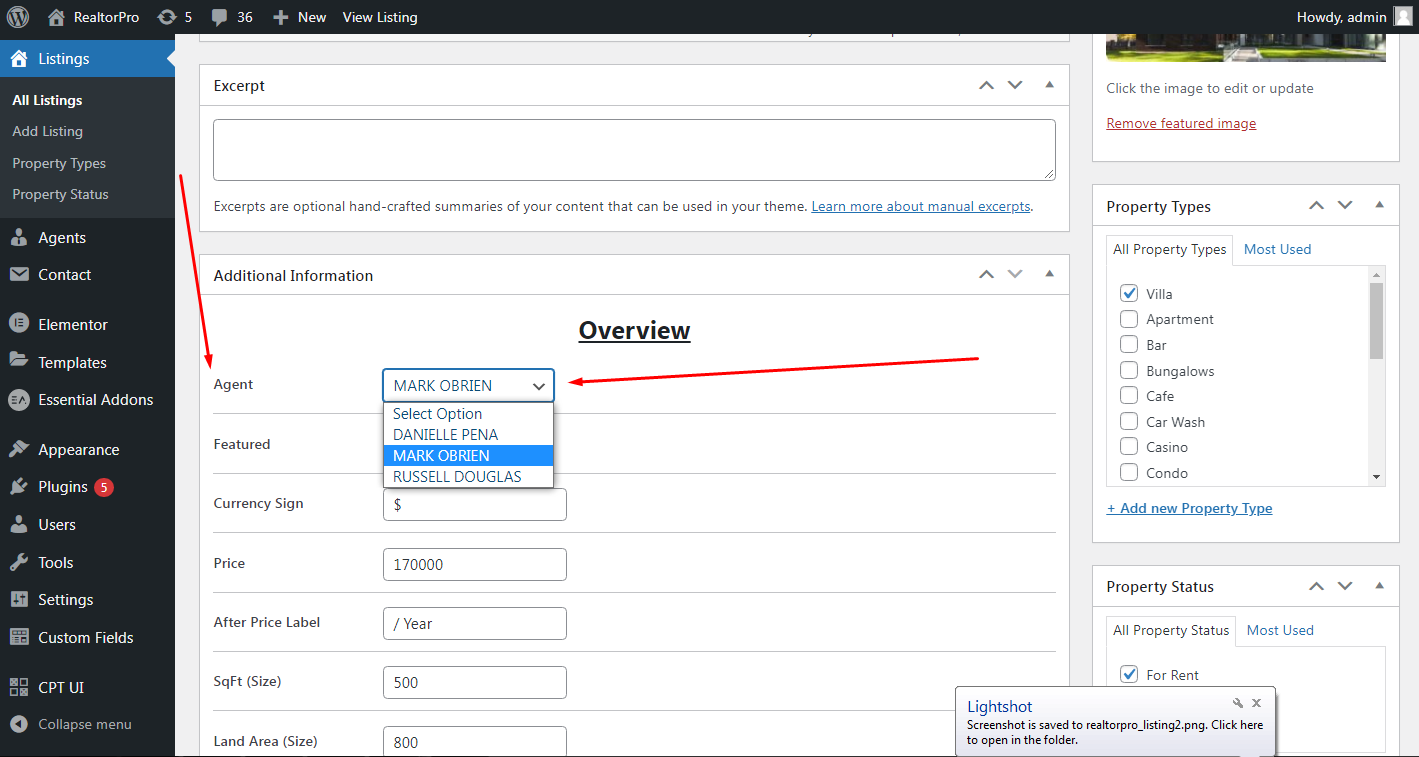
To create a new listing just go to Listings dashboard menu on the left. Please see the screenshot below.
To assign Agent on a listing, find this field and select the right Agent for the specific listing.
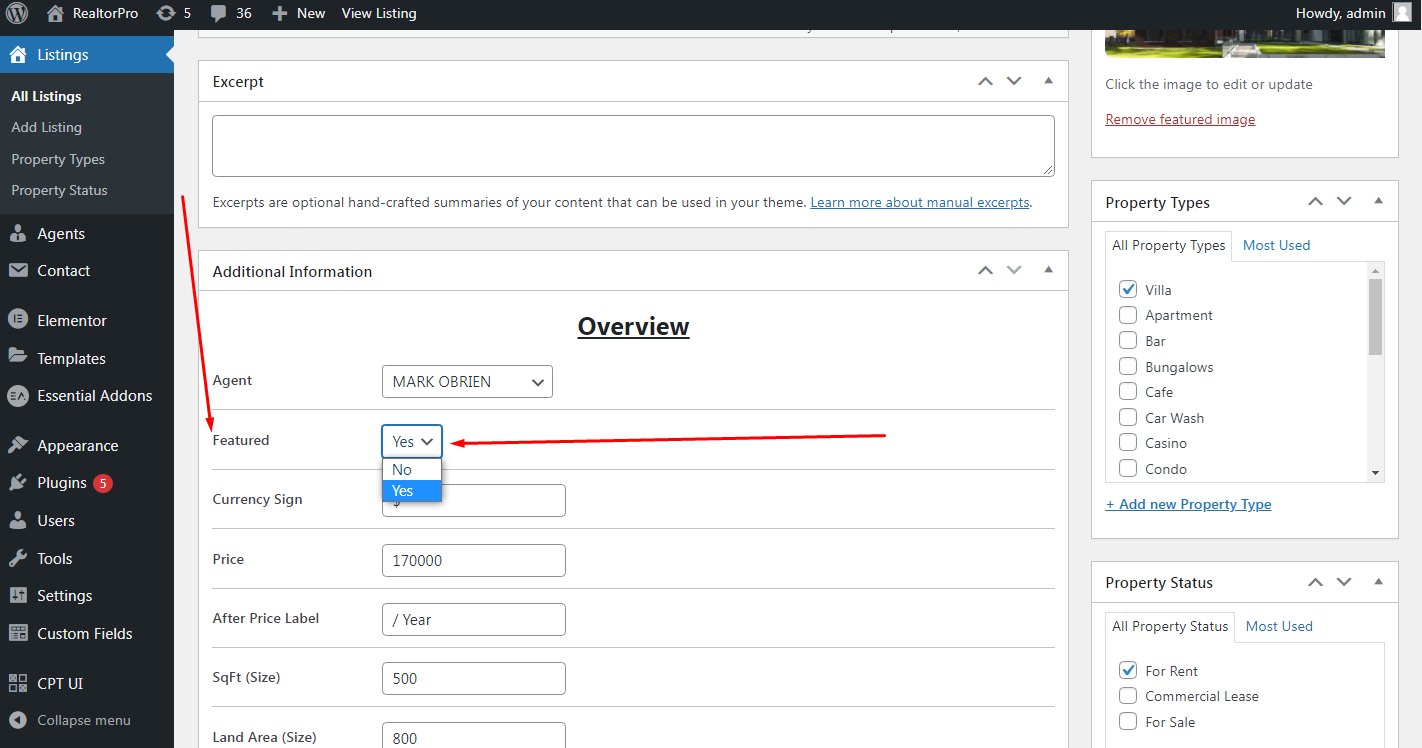
To set the listing as featured, find this field and select yes.
To set the Property Type, find this field and select the specific option for the current listing.
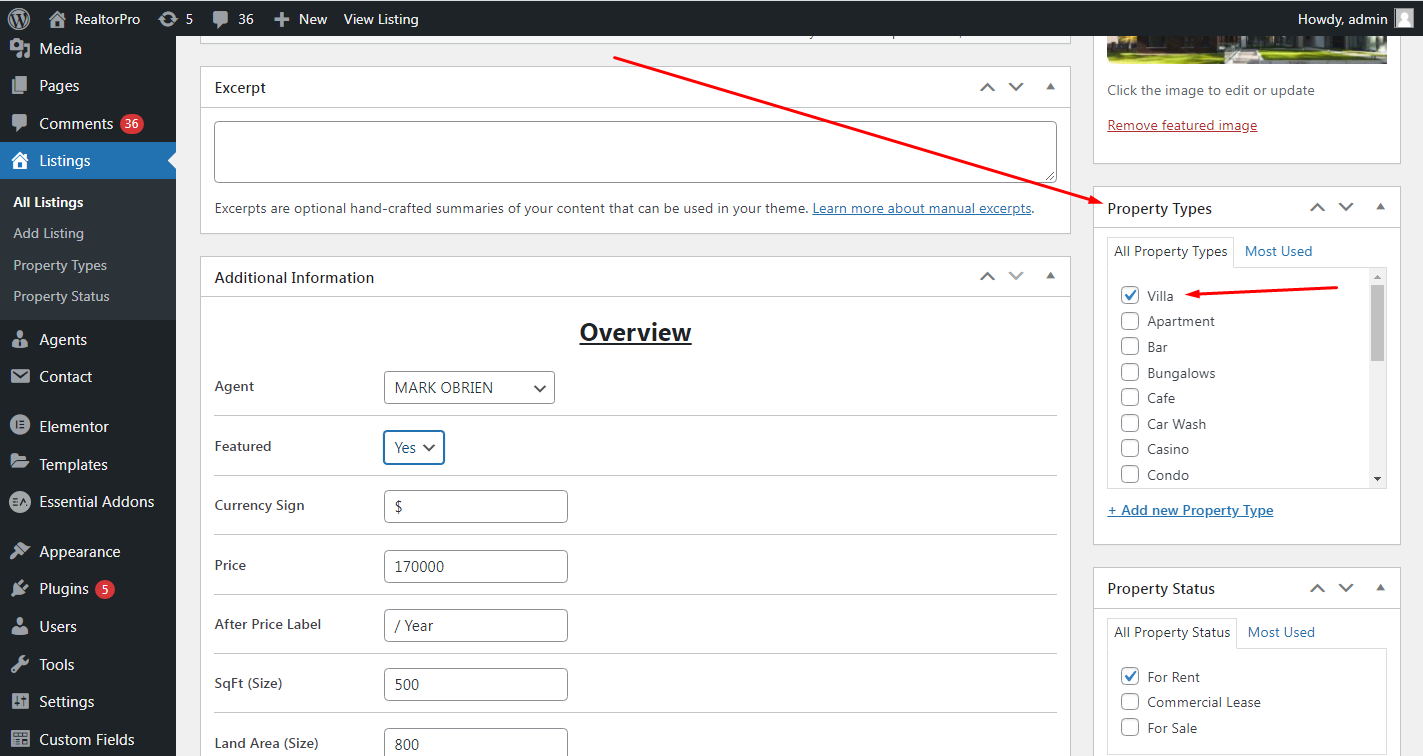
To set the Property Status, find this field and select the specific option for the current listing.

To create a new agent just go to the Agents dashboard menu on the left. Please see the screenshot below.

To create a new post just go to the Post dashboard menu on the left. Please see the screenshot below.
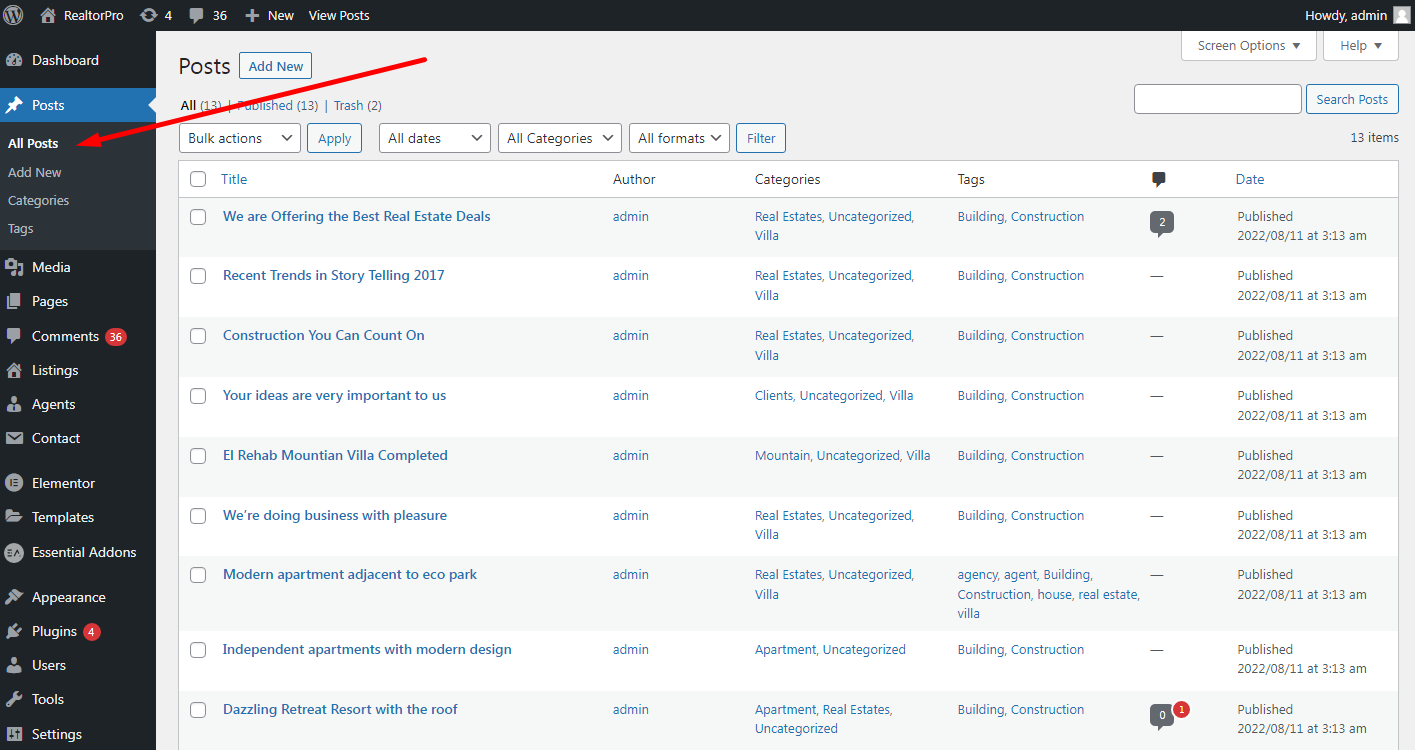
Just add content, excerpt and featured image to make the single post results more better and also on blog page or category page.
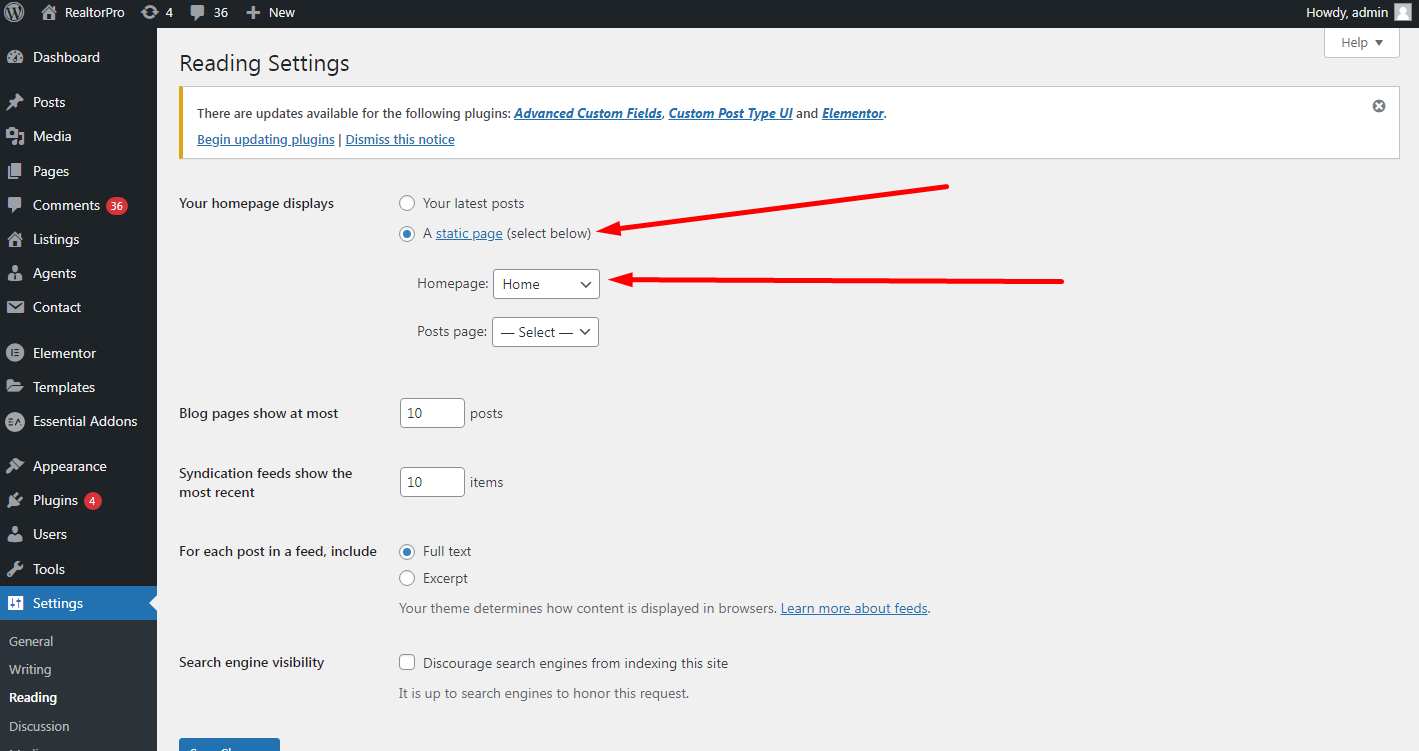
To get the home page layout you must follow the screenshot above.